Not only will organization make you a better cook, you will be surprised how much money you will save. The amount of food we throw out in North America is absurd. As individuals, one way we can diminish this waste is by starting in our very own homes. Often, we throw out lots of food because we can barely see whats in our fridge, pantry etc… So we all opt to what is in the front row, because who wants to reach to the back? Another reason why there is so much waste in our homes is because we often buy multiples of things. How many of you have bought the same pantry items over and over again because you believed there was none at home? I have bought quinoa, rice, flours, chia seeds and so on, in abundance simply because I didn’t have a clear view of what was in my pantry. The truth is, I have wanted to organize my pantry for years, but like many of you, I put it off. Because who really wants to spend their day off doing that?
Im here to tell you that taking those three or four hours on a rainy Sunday will be one of the best decisions you make. Especially if you are working with limited storage space or a smaller fridge/freezer, this will change your life! It might seem that putting ingredients into jars and storing items in baskets will only cause confusion and frustration in the future. But as time goes on you will notice how quickly ingredients come together and put away for all your meals.
Organization in any form should be tailored to your needs. So my tips for how I organized my kitchen might not be the way you choose to do yours. For example, if you never use chia seeds, there is no point in putting them on your eye-level shelf. If you never bake, you may want to store your baking items in a storage cupboard. It really is your place and should be all about you! That being said, it still might be difficult to know where to start. So here are my tips for how I got started!
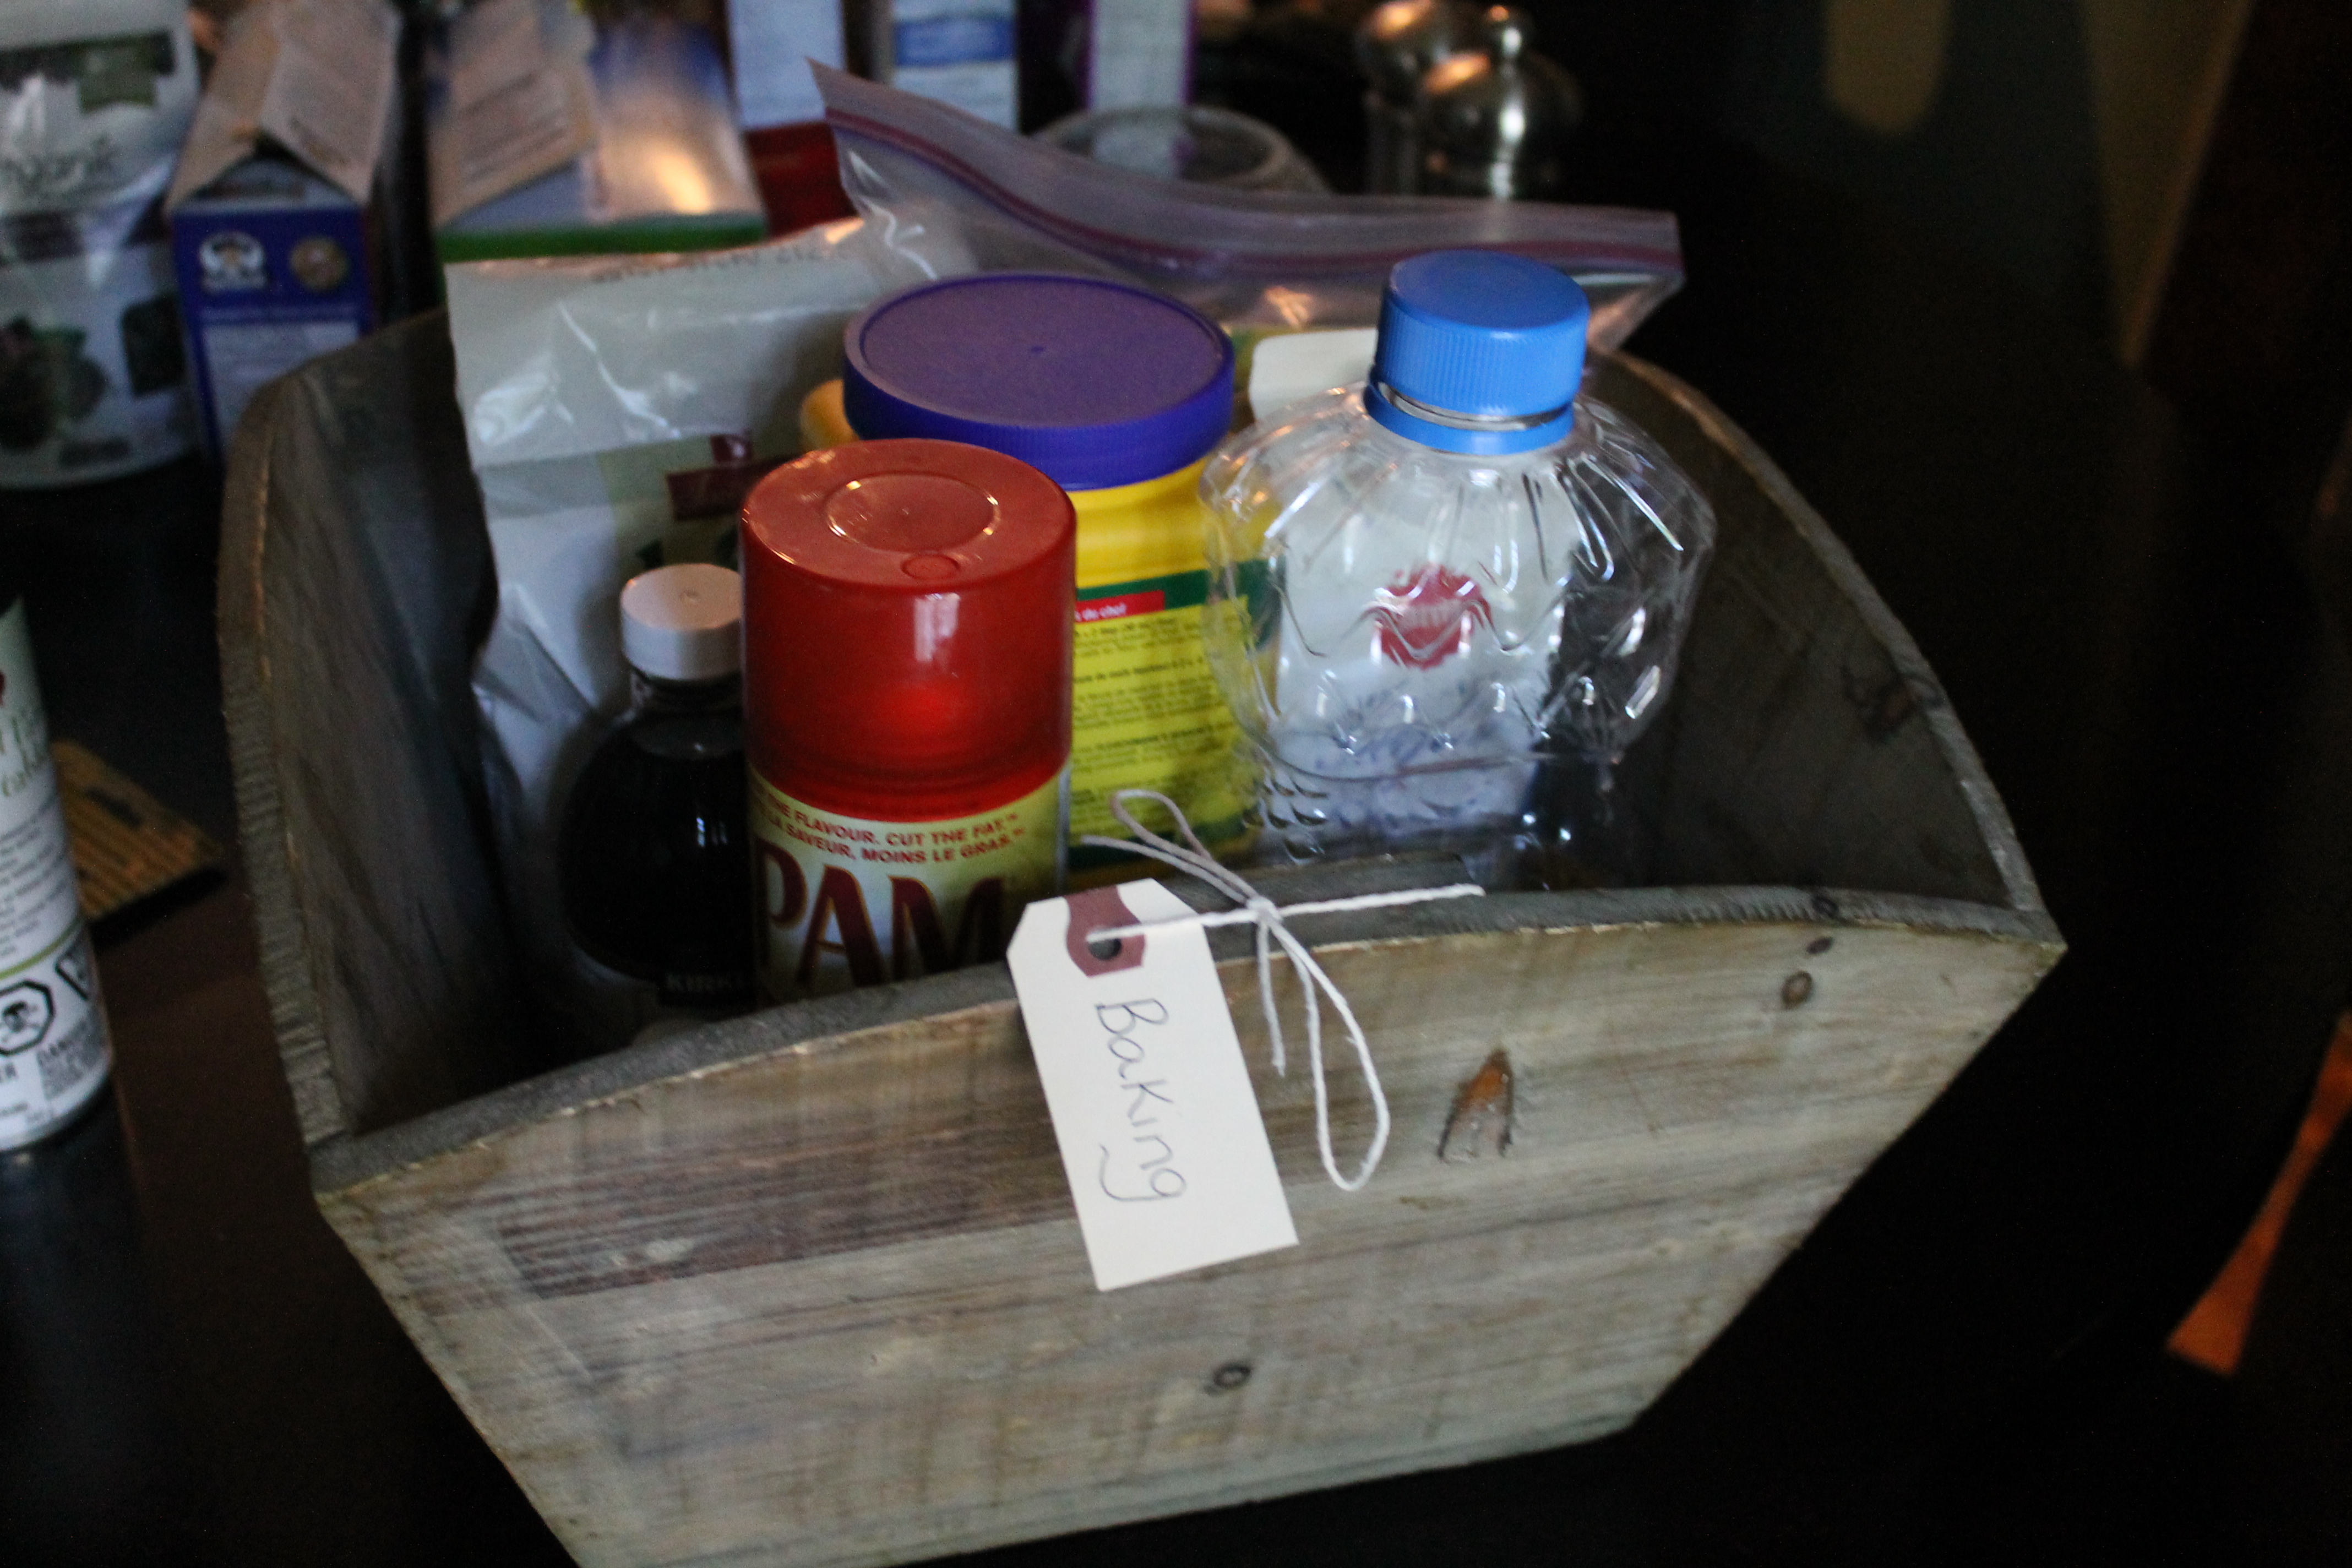
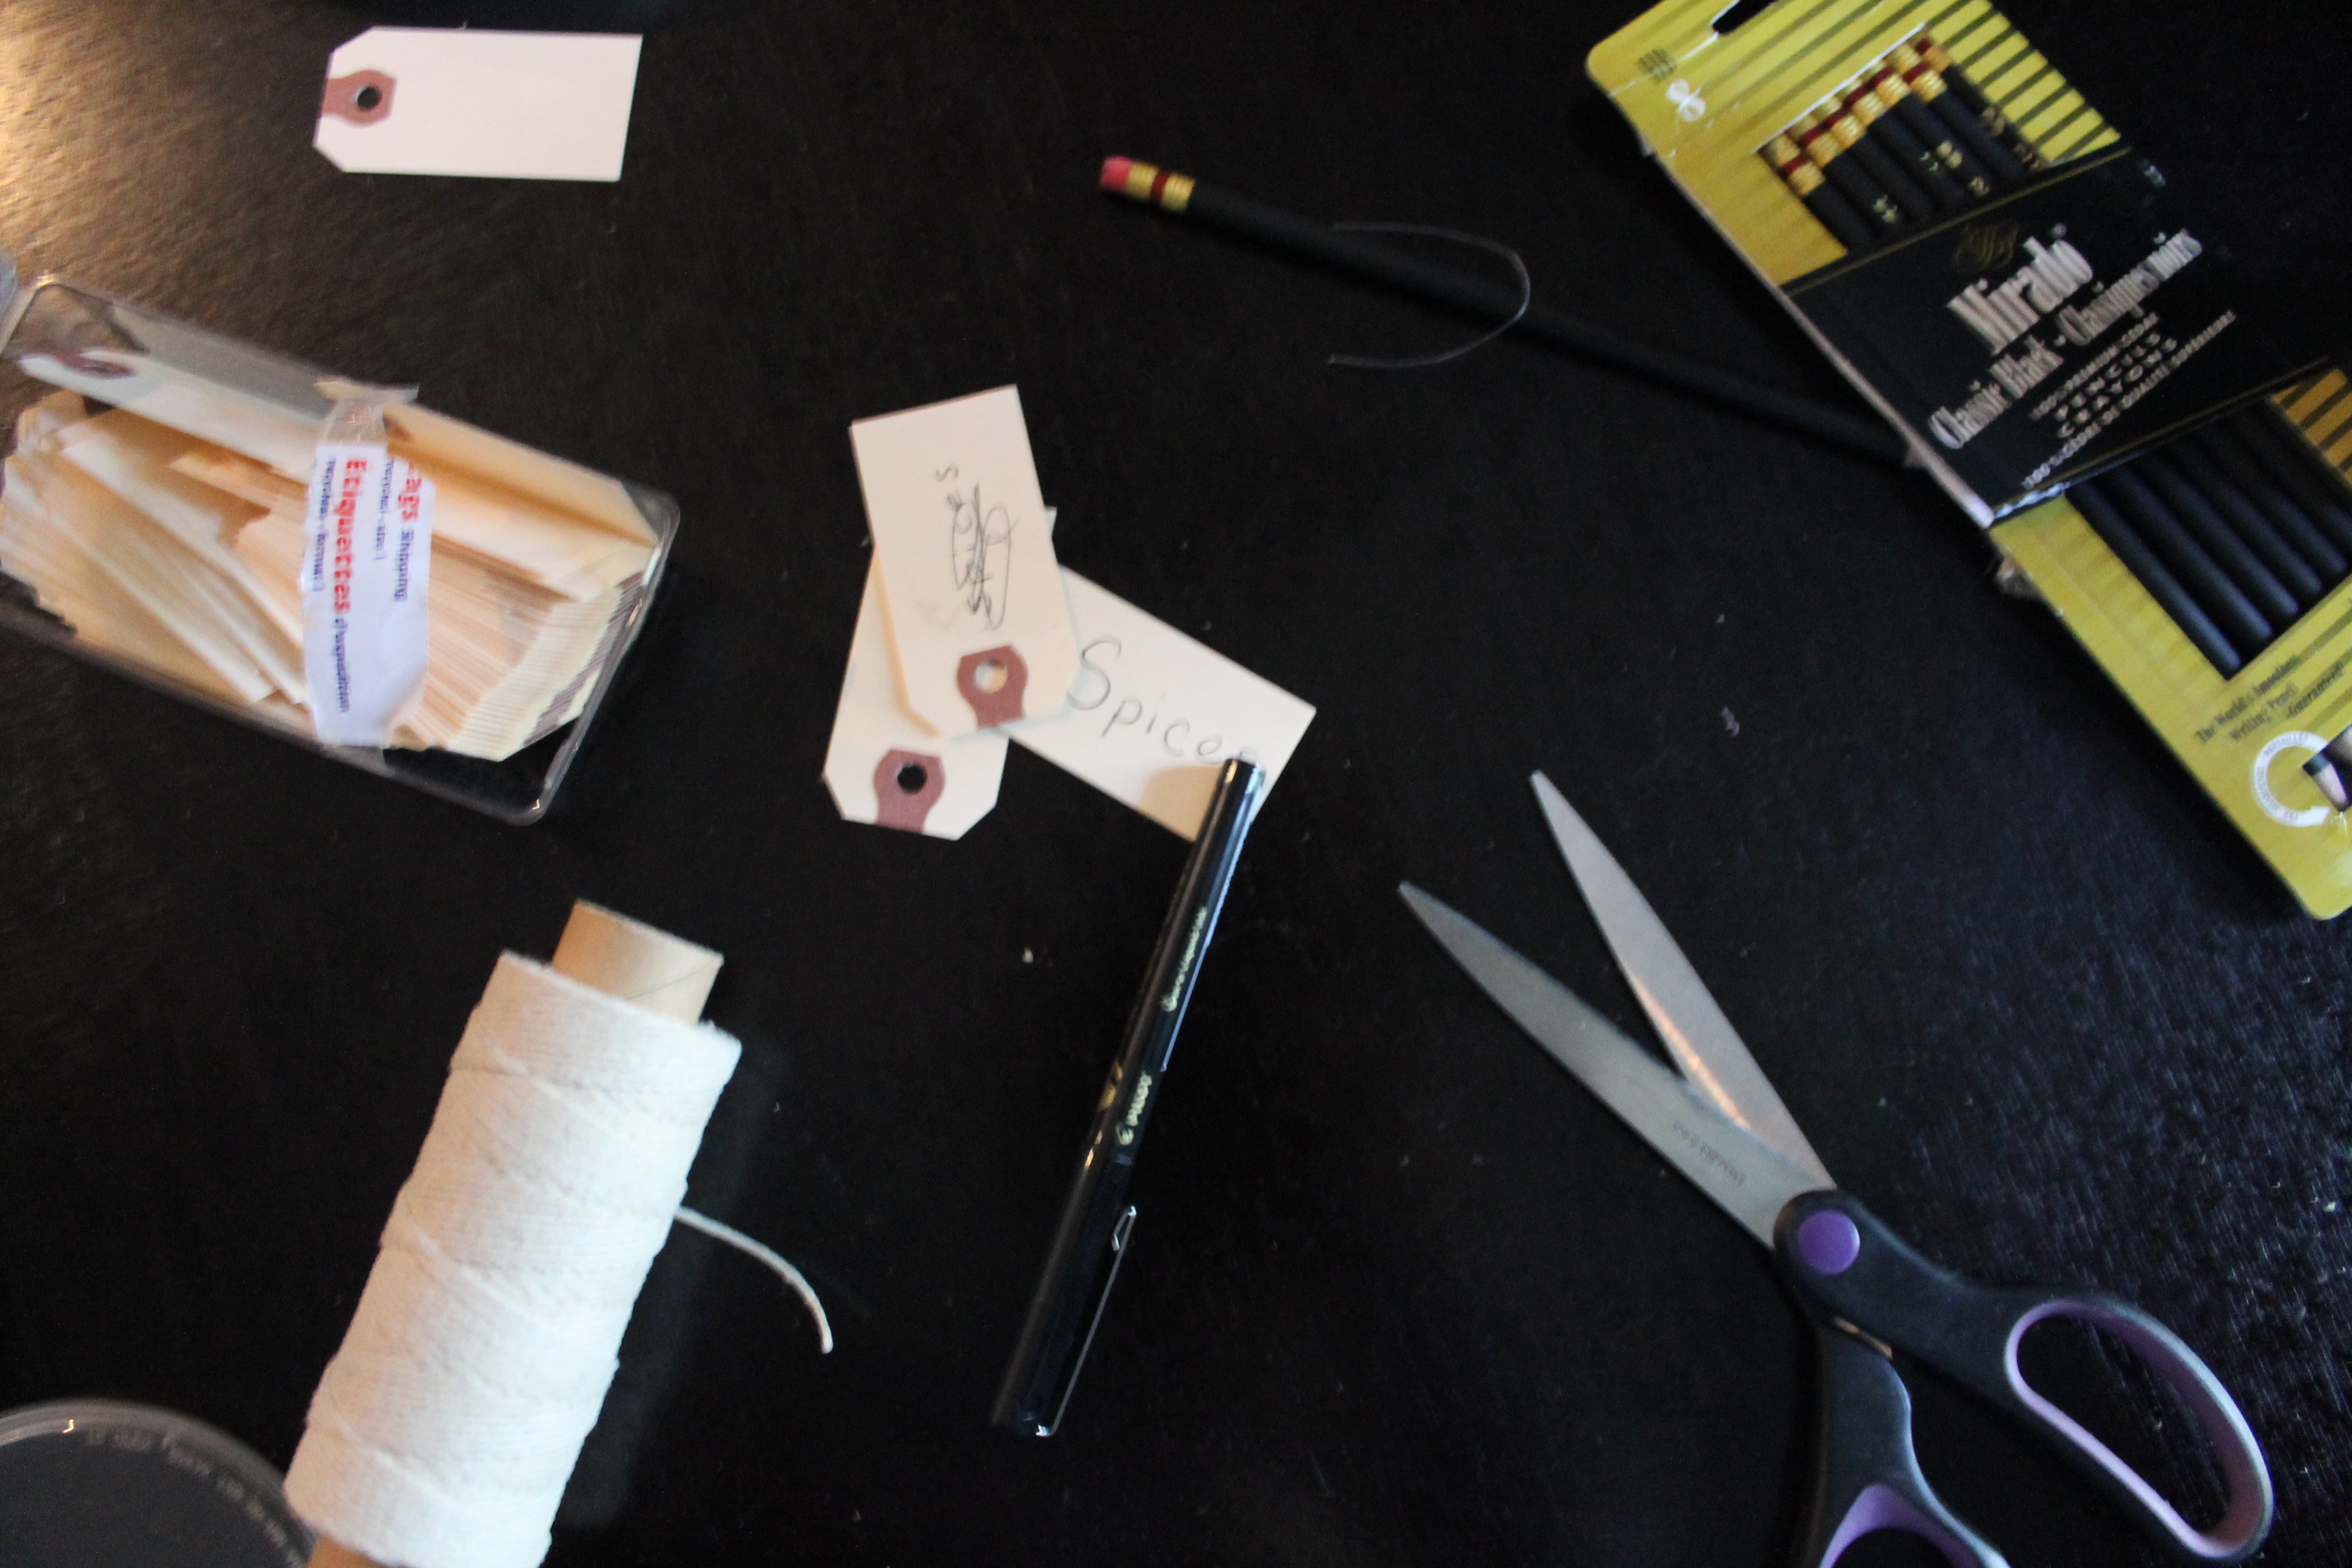
1. Start by taking everything out of your pantry and laying it out on the floor or kitchen table (wherever there is more room). Depending on how much food you have accumulated over the years, you may need to make labeled stations to get things organized. Simply use a cue card, piece of paper, tape (or whatever you have around) and make desired labels. Some sections will include: baking, cereals, sauces, snacks, spices, nuts, grains, oils, pastas, drinks, vinegars etc…
2. Once you have placed all of your pantry items in its appropriate category, quickly sift through best before dates and toss anything that has gone off. If you aren’t sure about something, my rule of thumb is to just throw it out. If you are questioning it to begin with, then its probably best to just buy a new one.
3. The first items I tackled was anything left in unsealed bags. We all have been there trying to get our measuring cup inside the almost empty bag of flour. Not only does it create a mess, but our food isn’t kept at its ultimate freshness. It is so much easier to have those kinds of items stored in airtight jars and/or containers. If it can take you years to go through a bag of flour, then make sure to date the jar with a label or directly on the cap. I moved all flours, nuts, grains, seeds, powders and any other items that were in a half opened bag such as coconut flakes, protein powder and dried lavender. Nuts and seeds can go rancid pretty quickly so it is best to keep them in the freezer if you don’t plan on using them in the near future. If you have loads of half opened bags of chips, crackers etc… I bought regular old clothes pins to seal up what I have. Or for a few extra dollars you can buy special bag clips (links found below). Cereals also tend to go stale pretty quickly if you aren’t eating them within a weeks time. Make sure to close them well with the clips or you can use special cereal storage containers (link below).
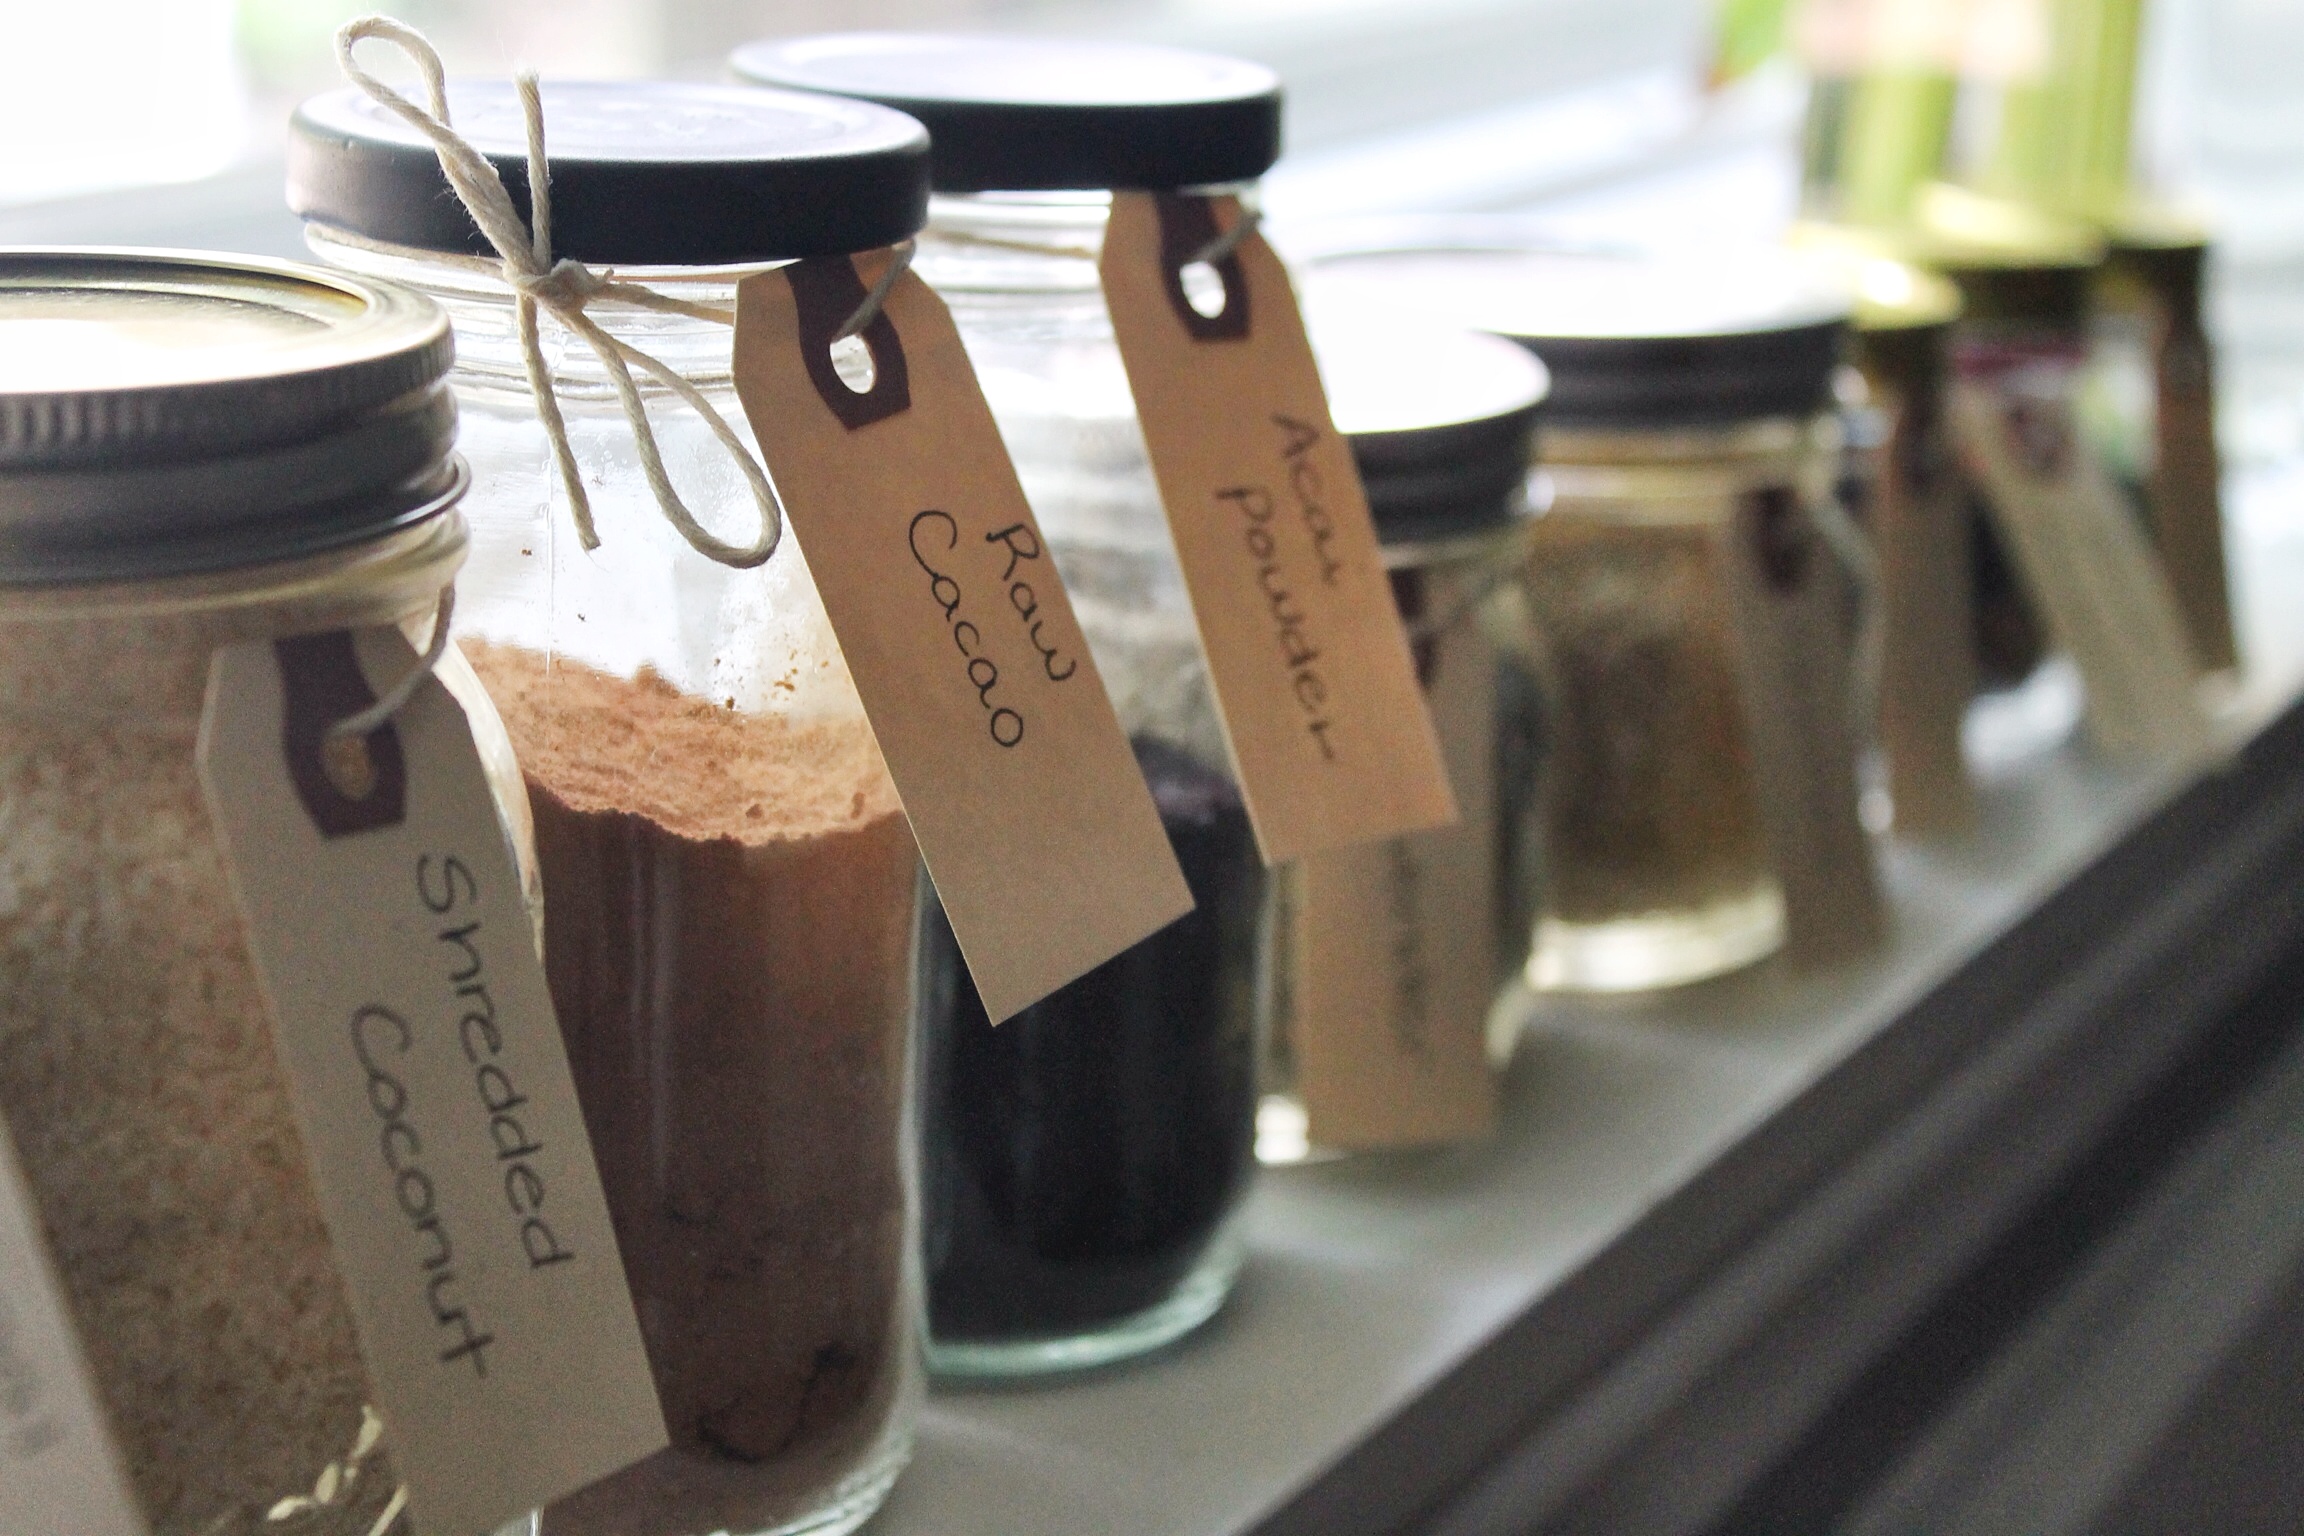
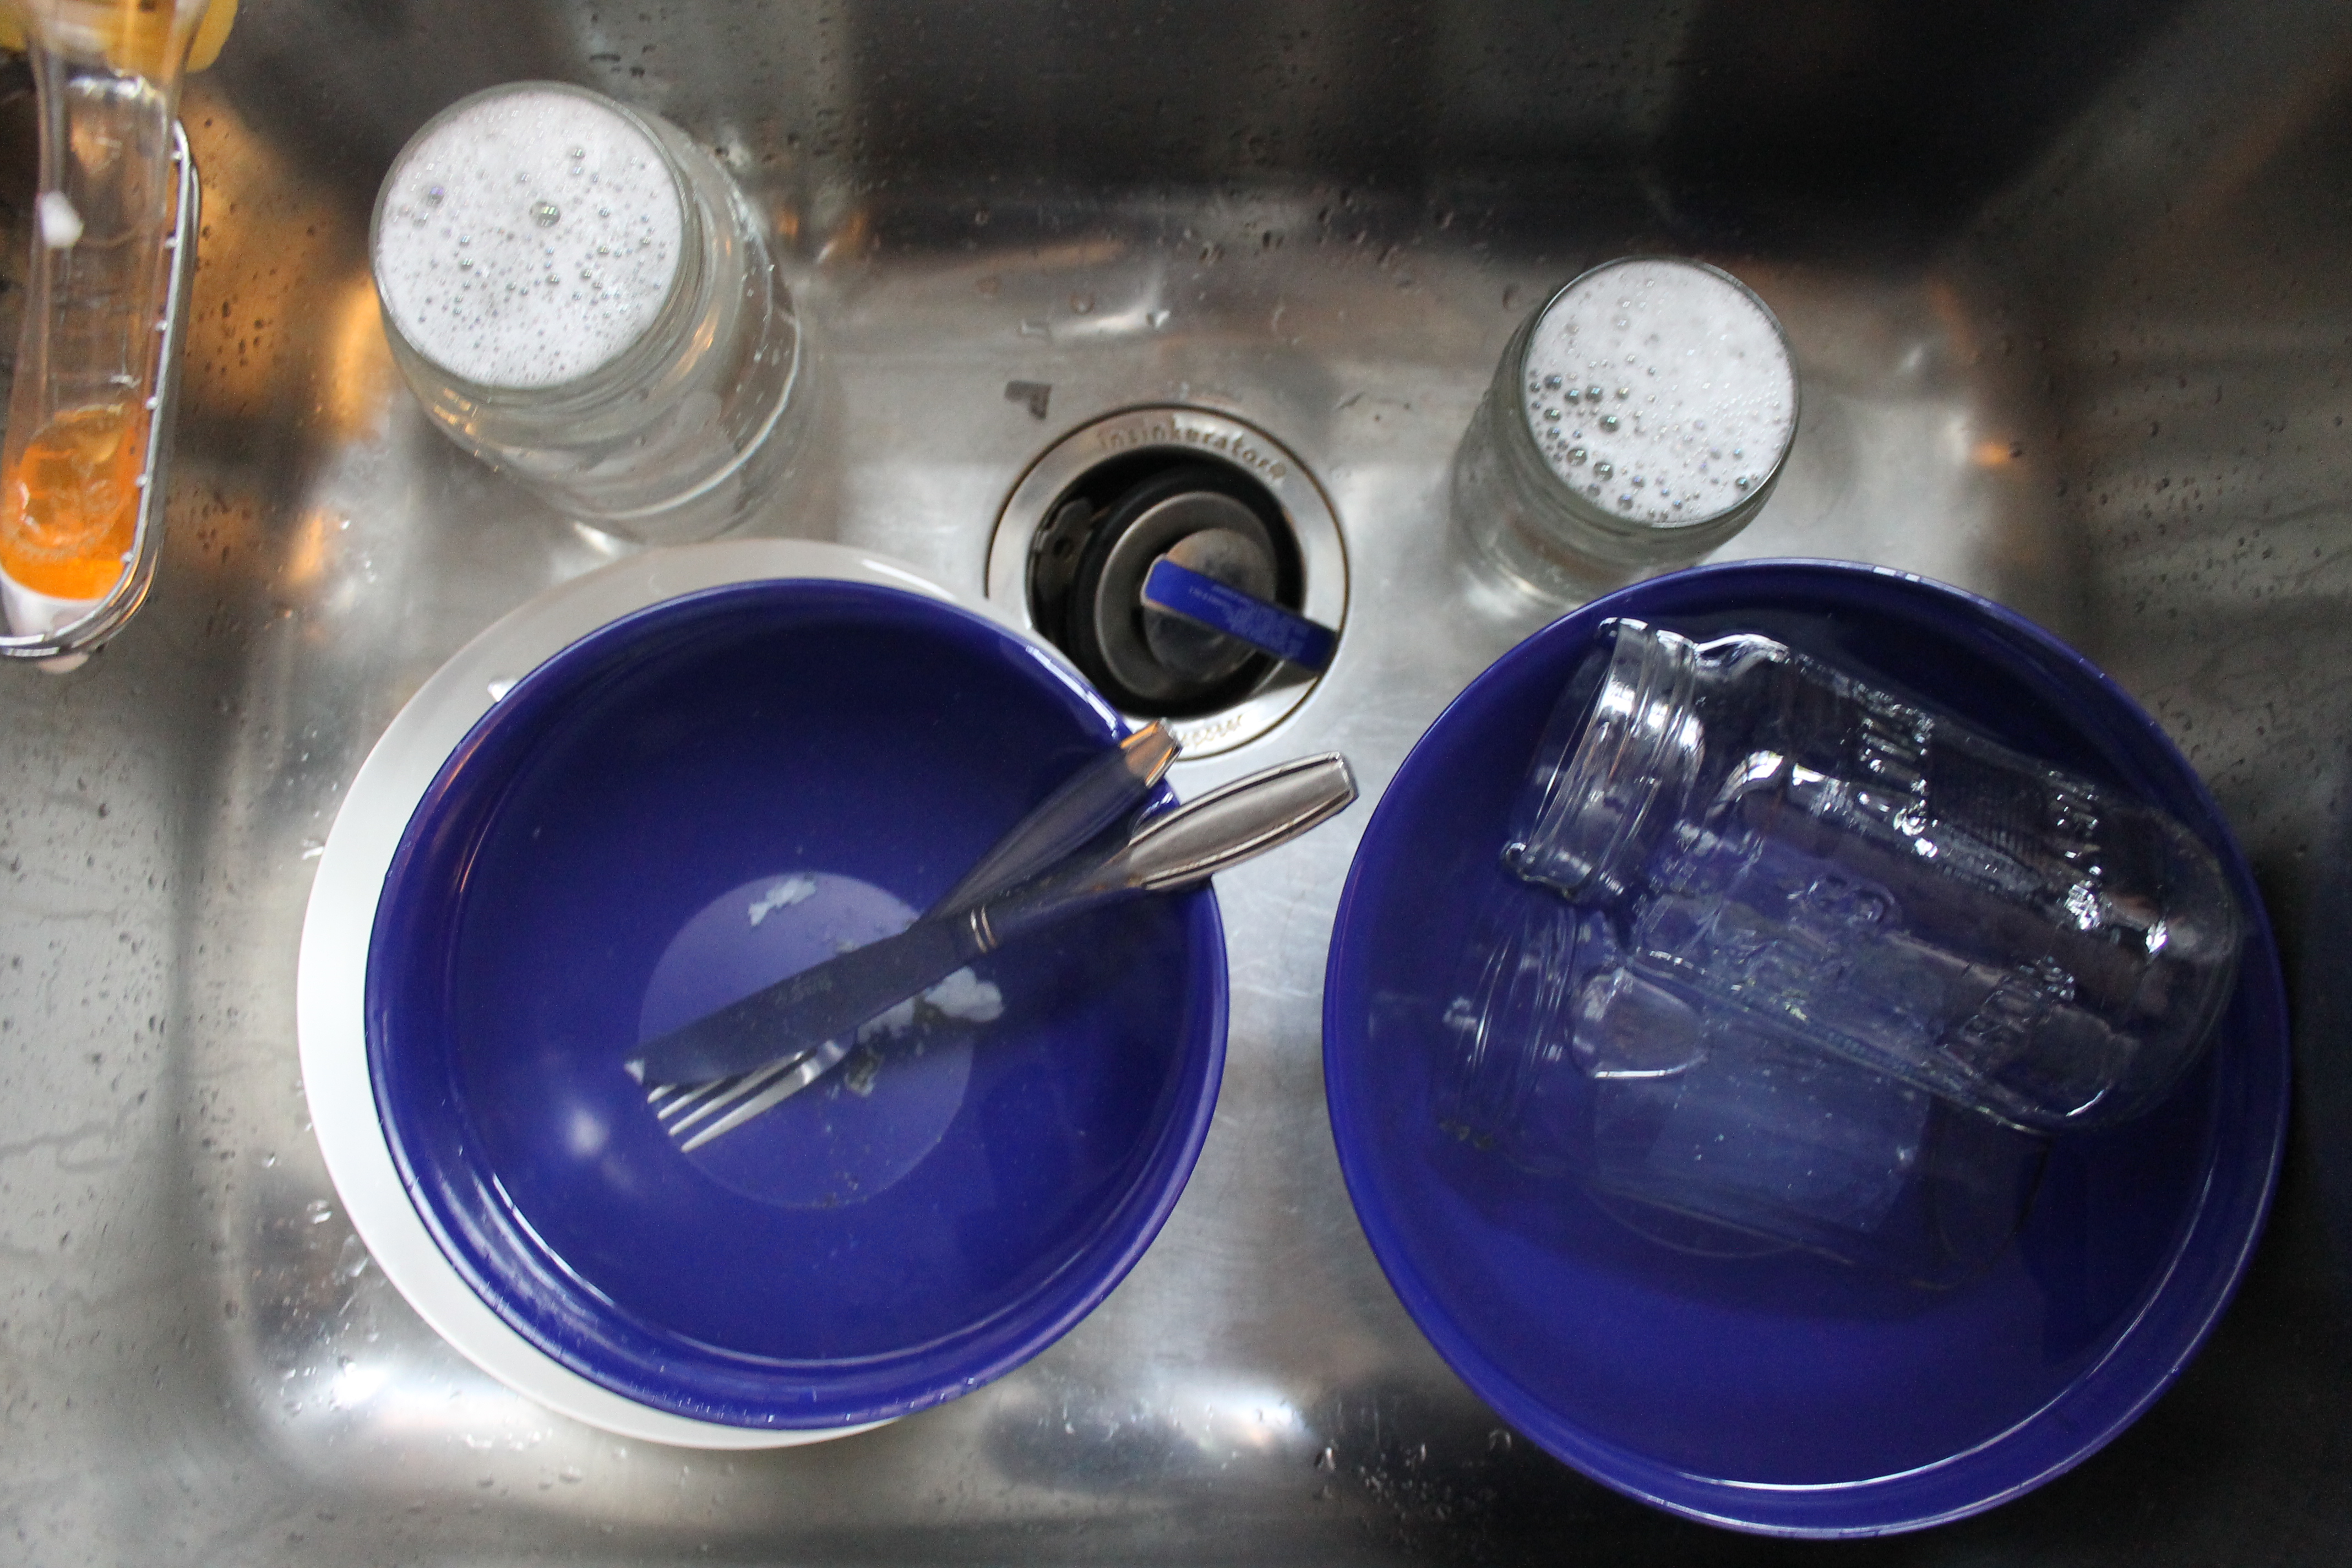
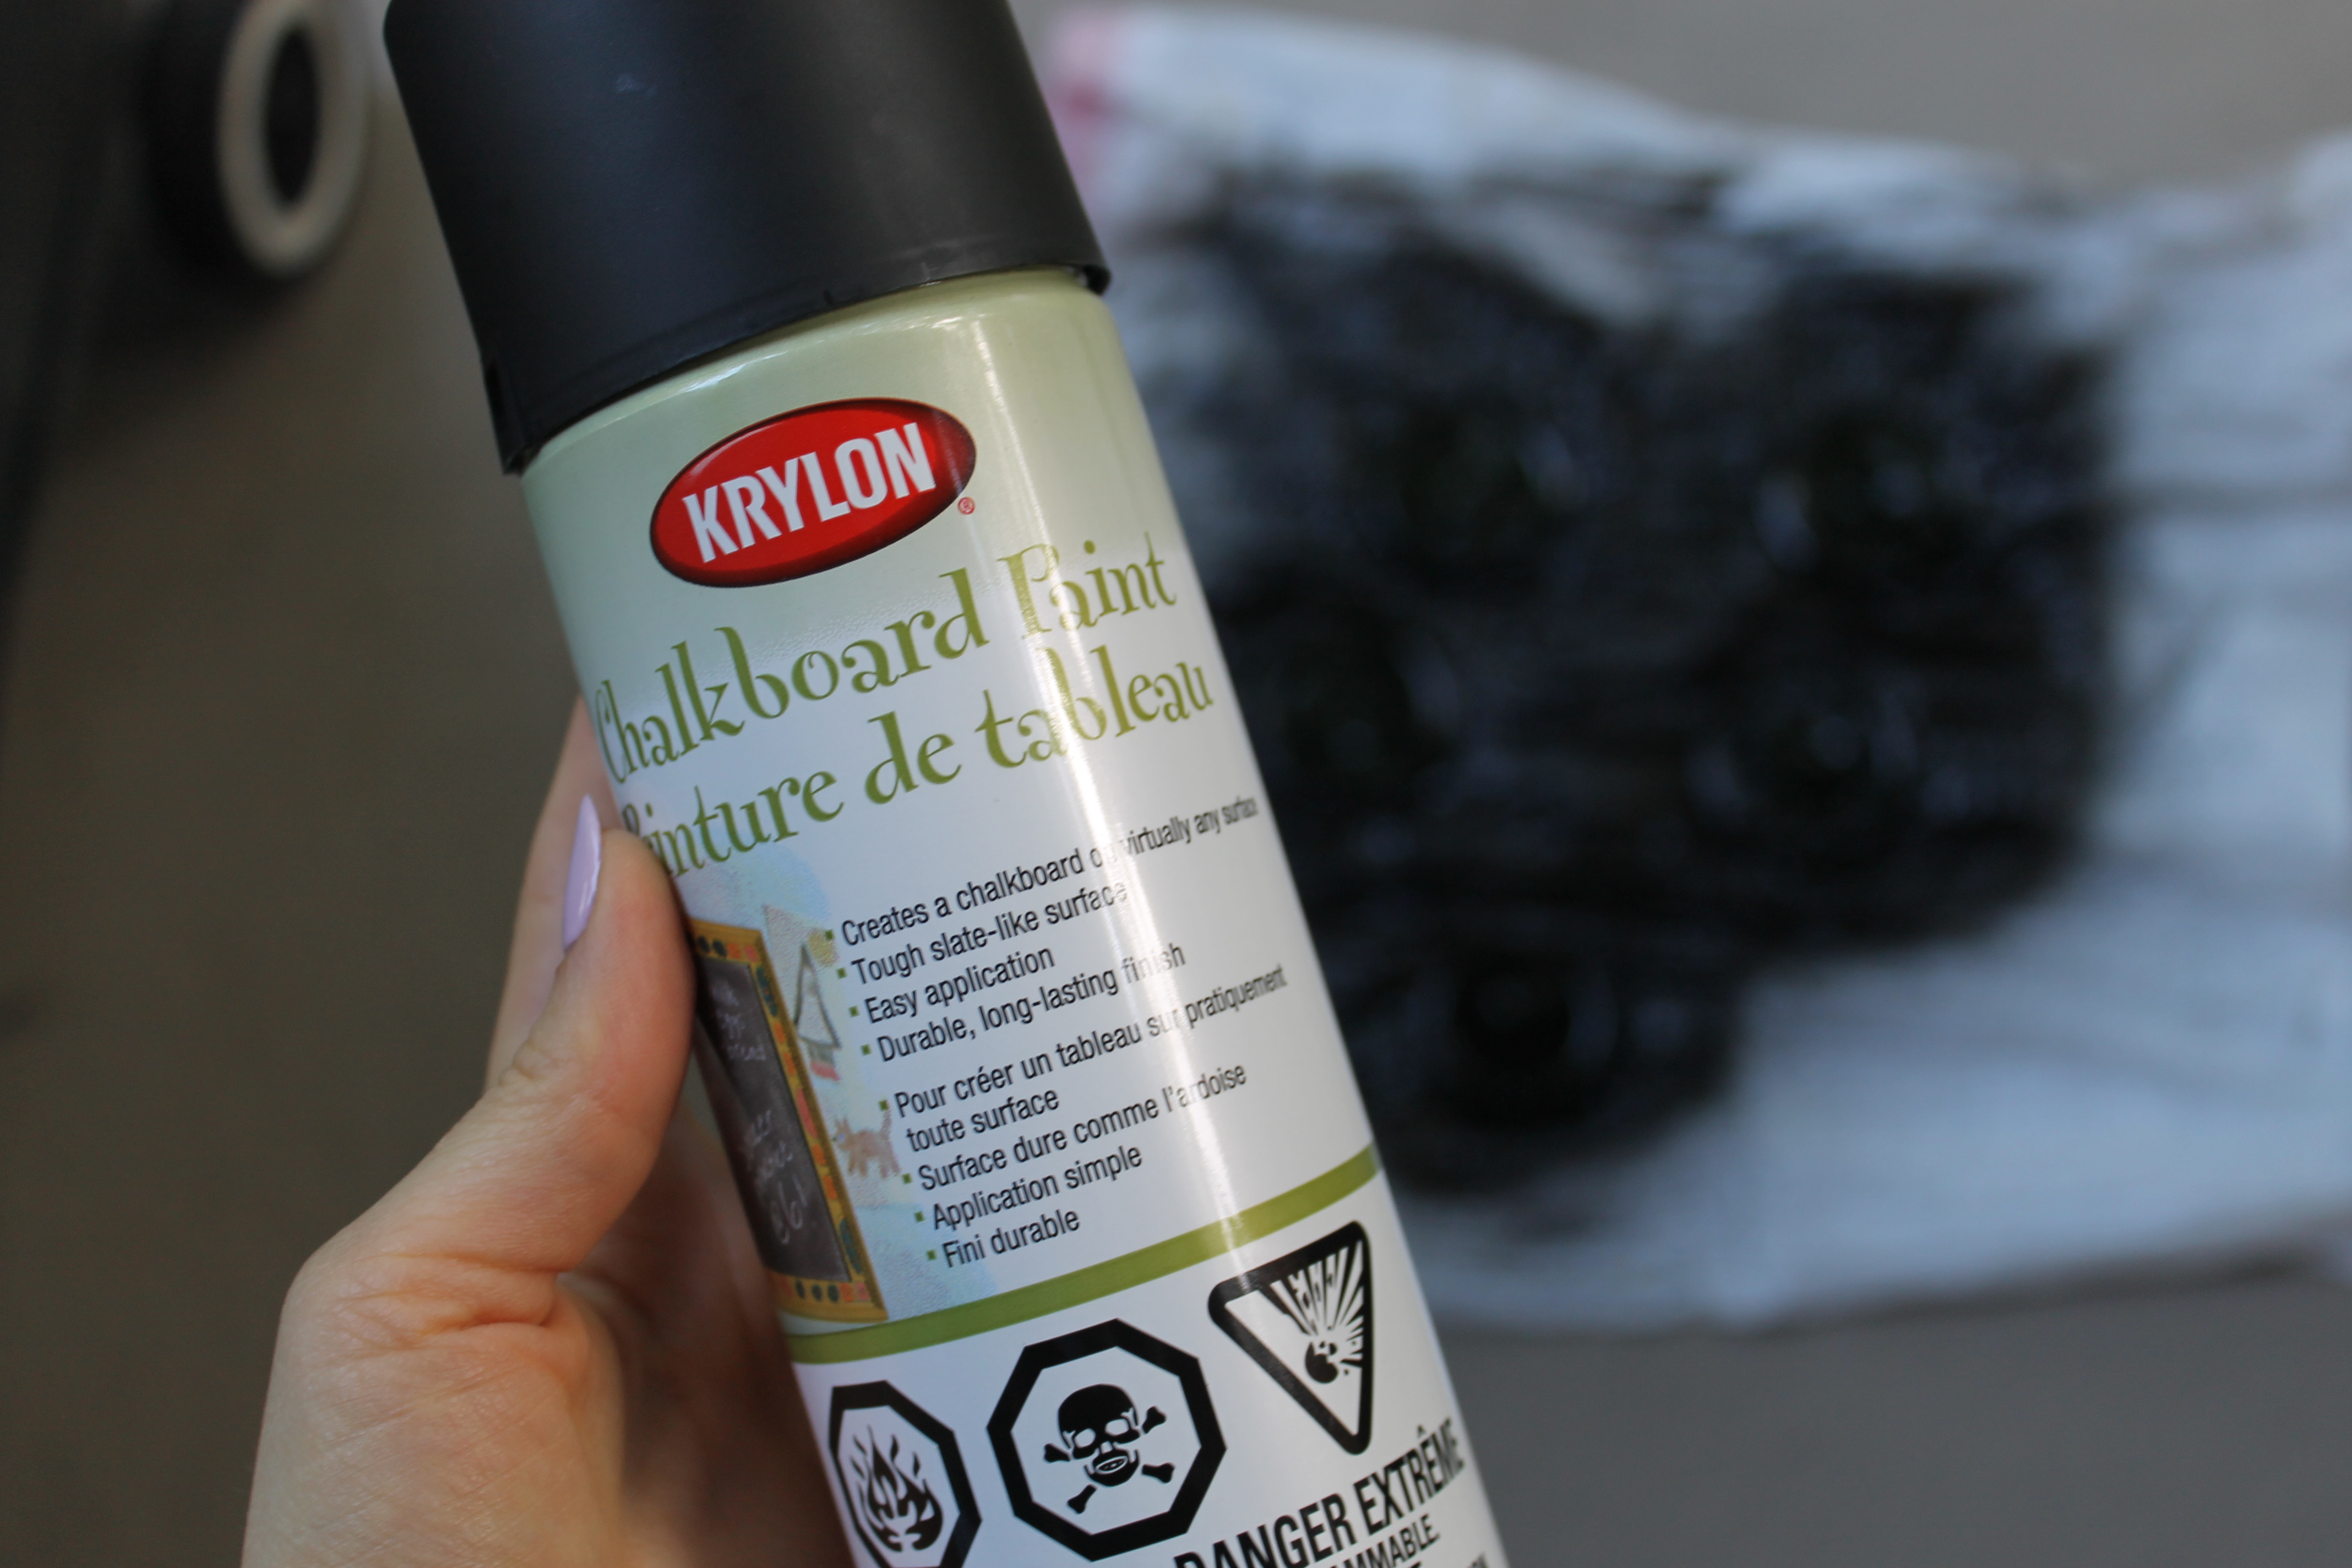
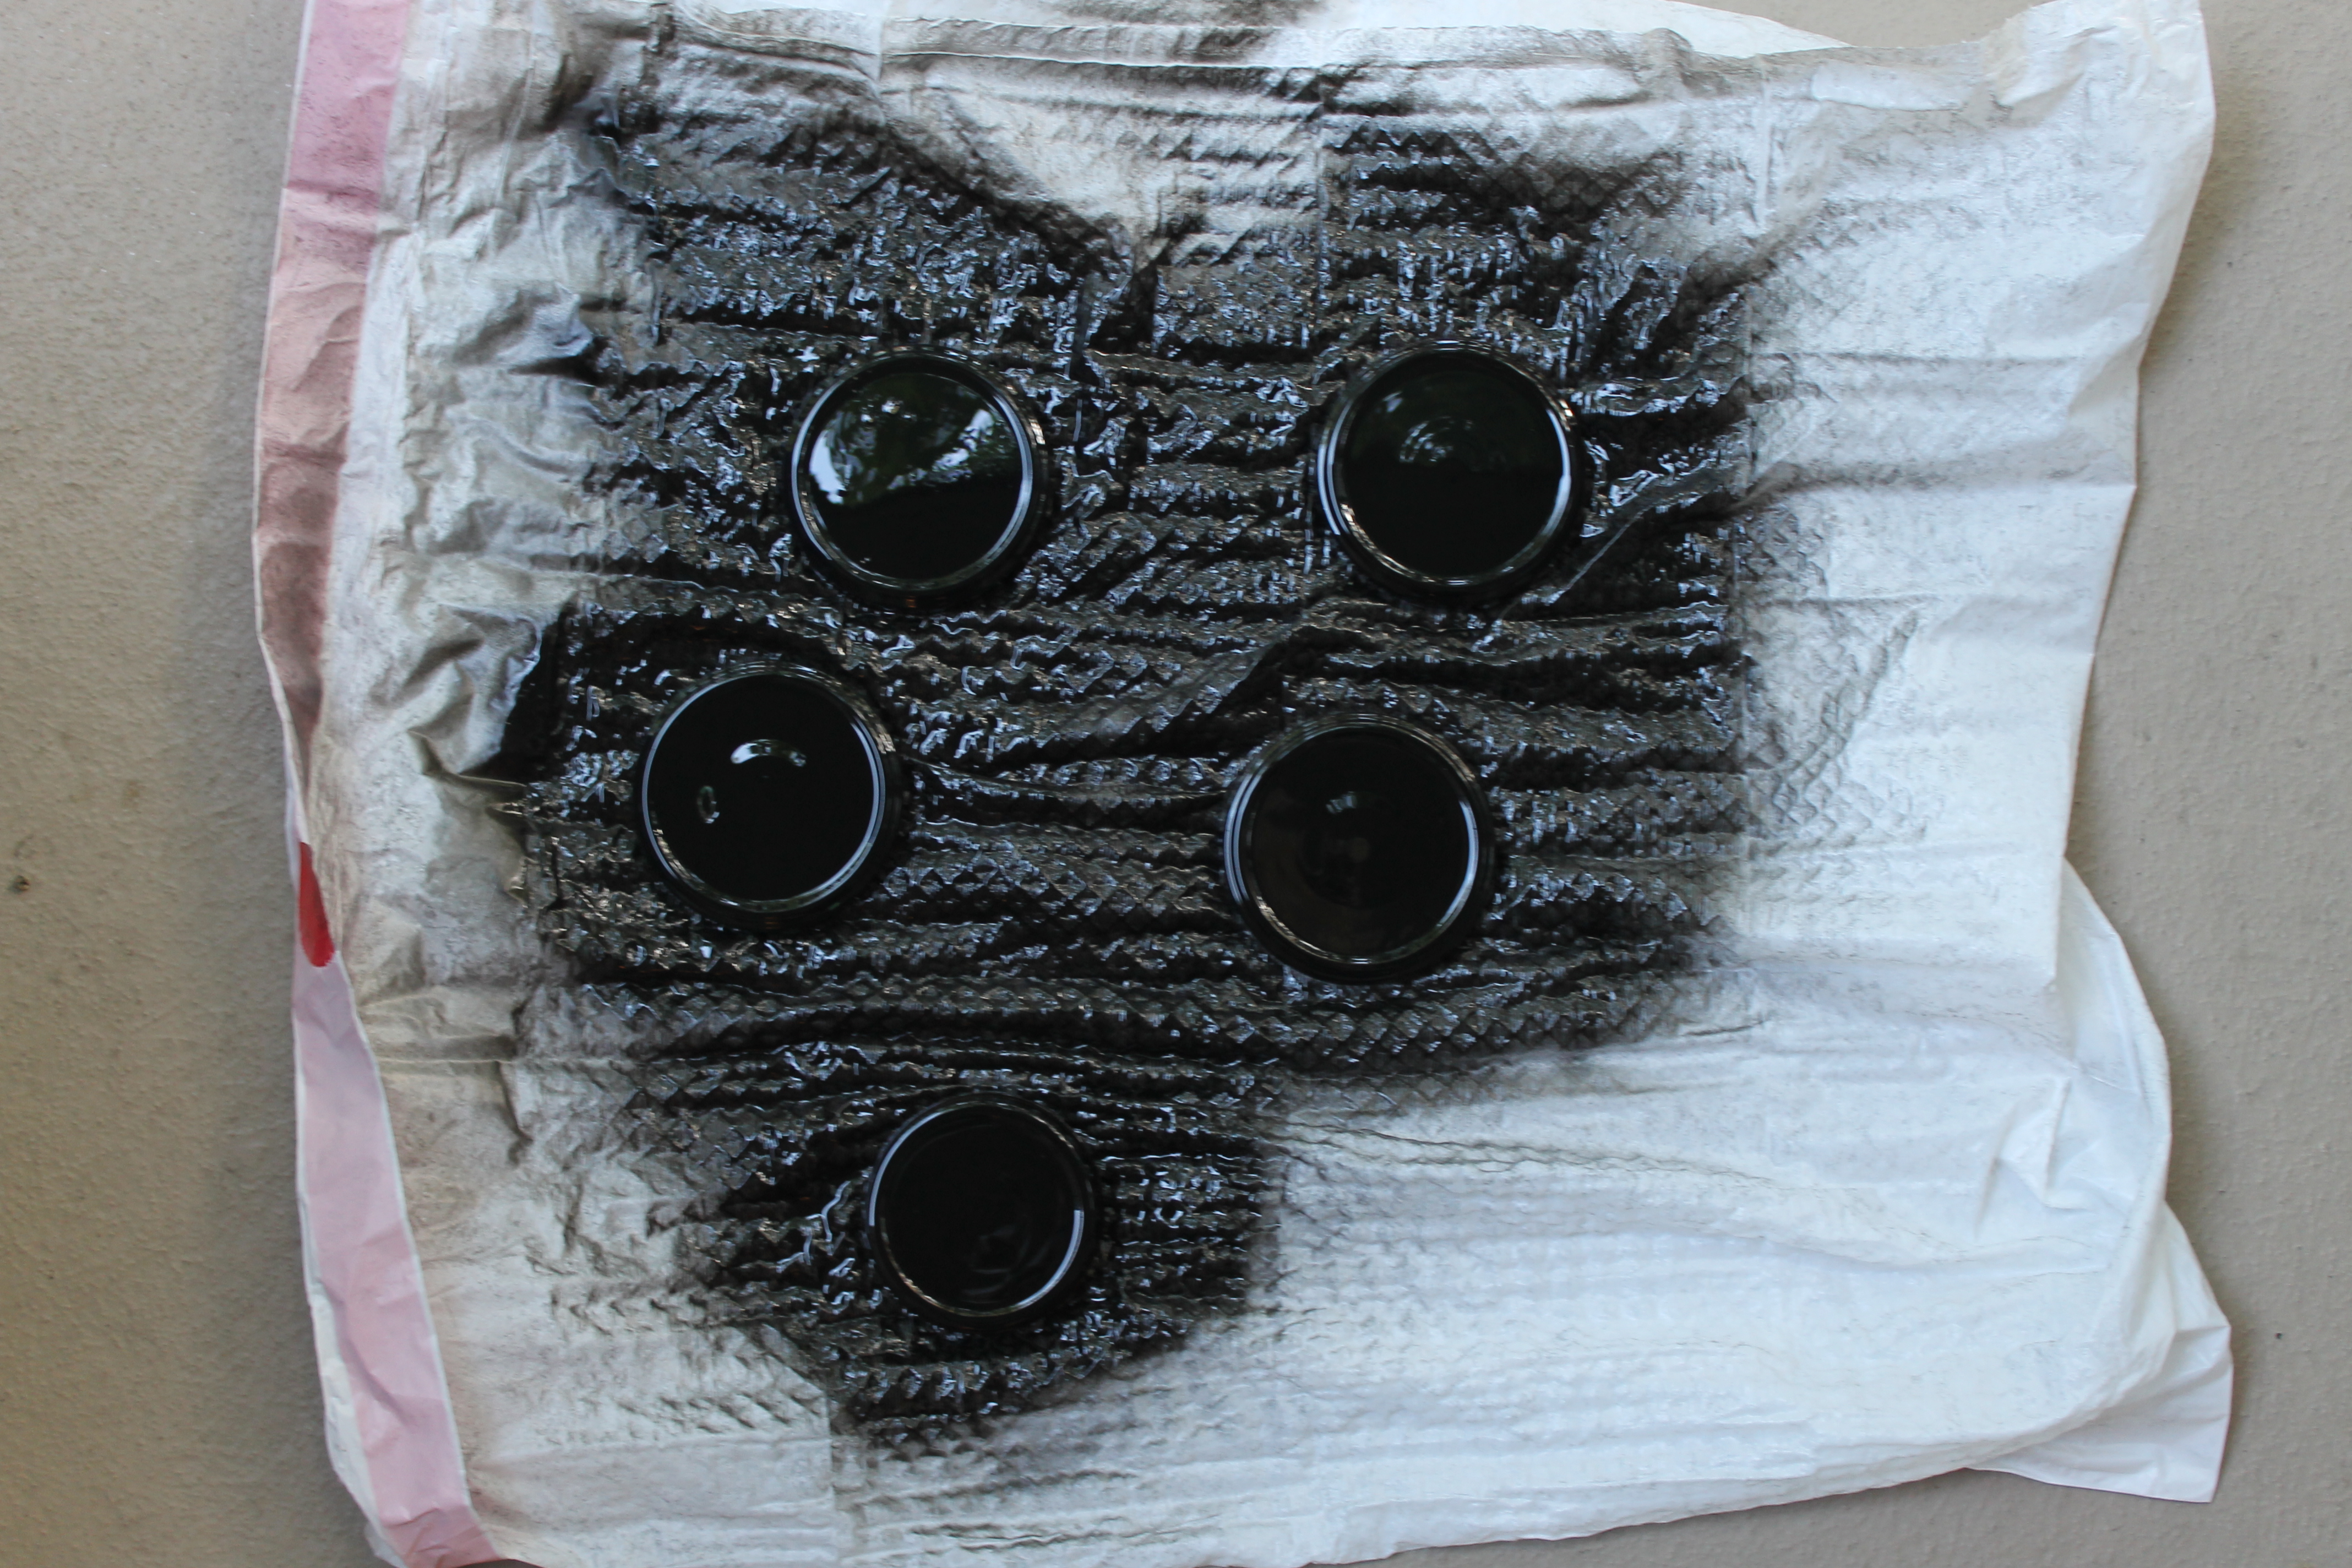
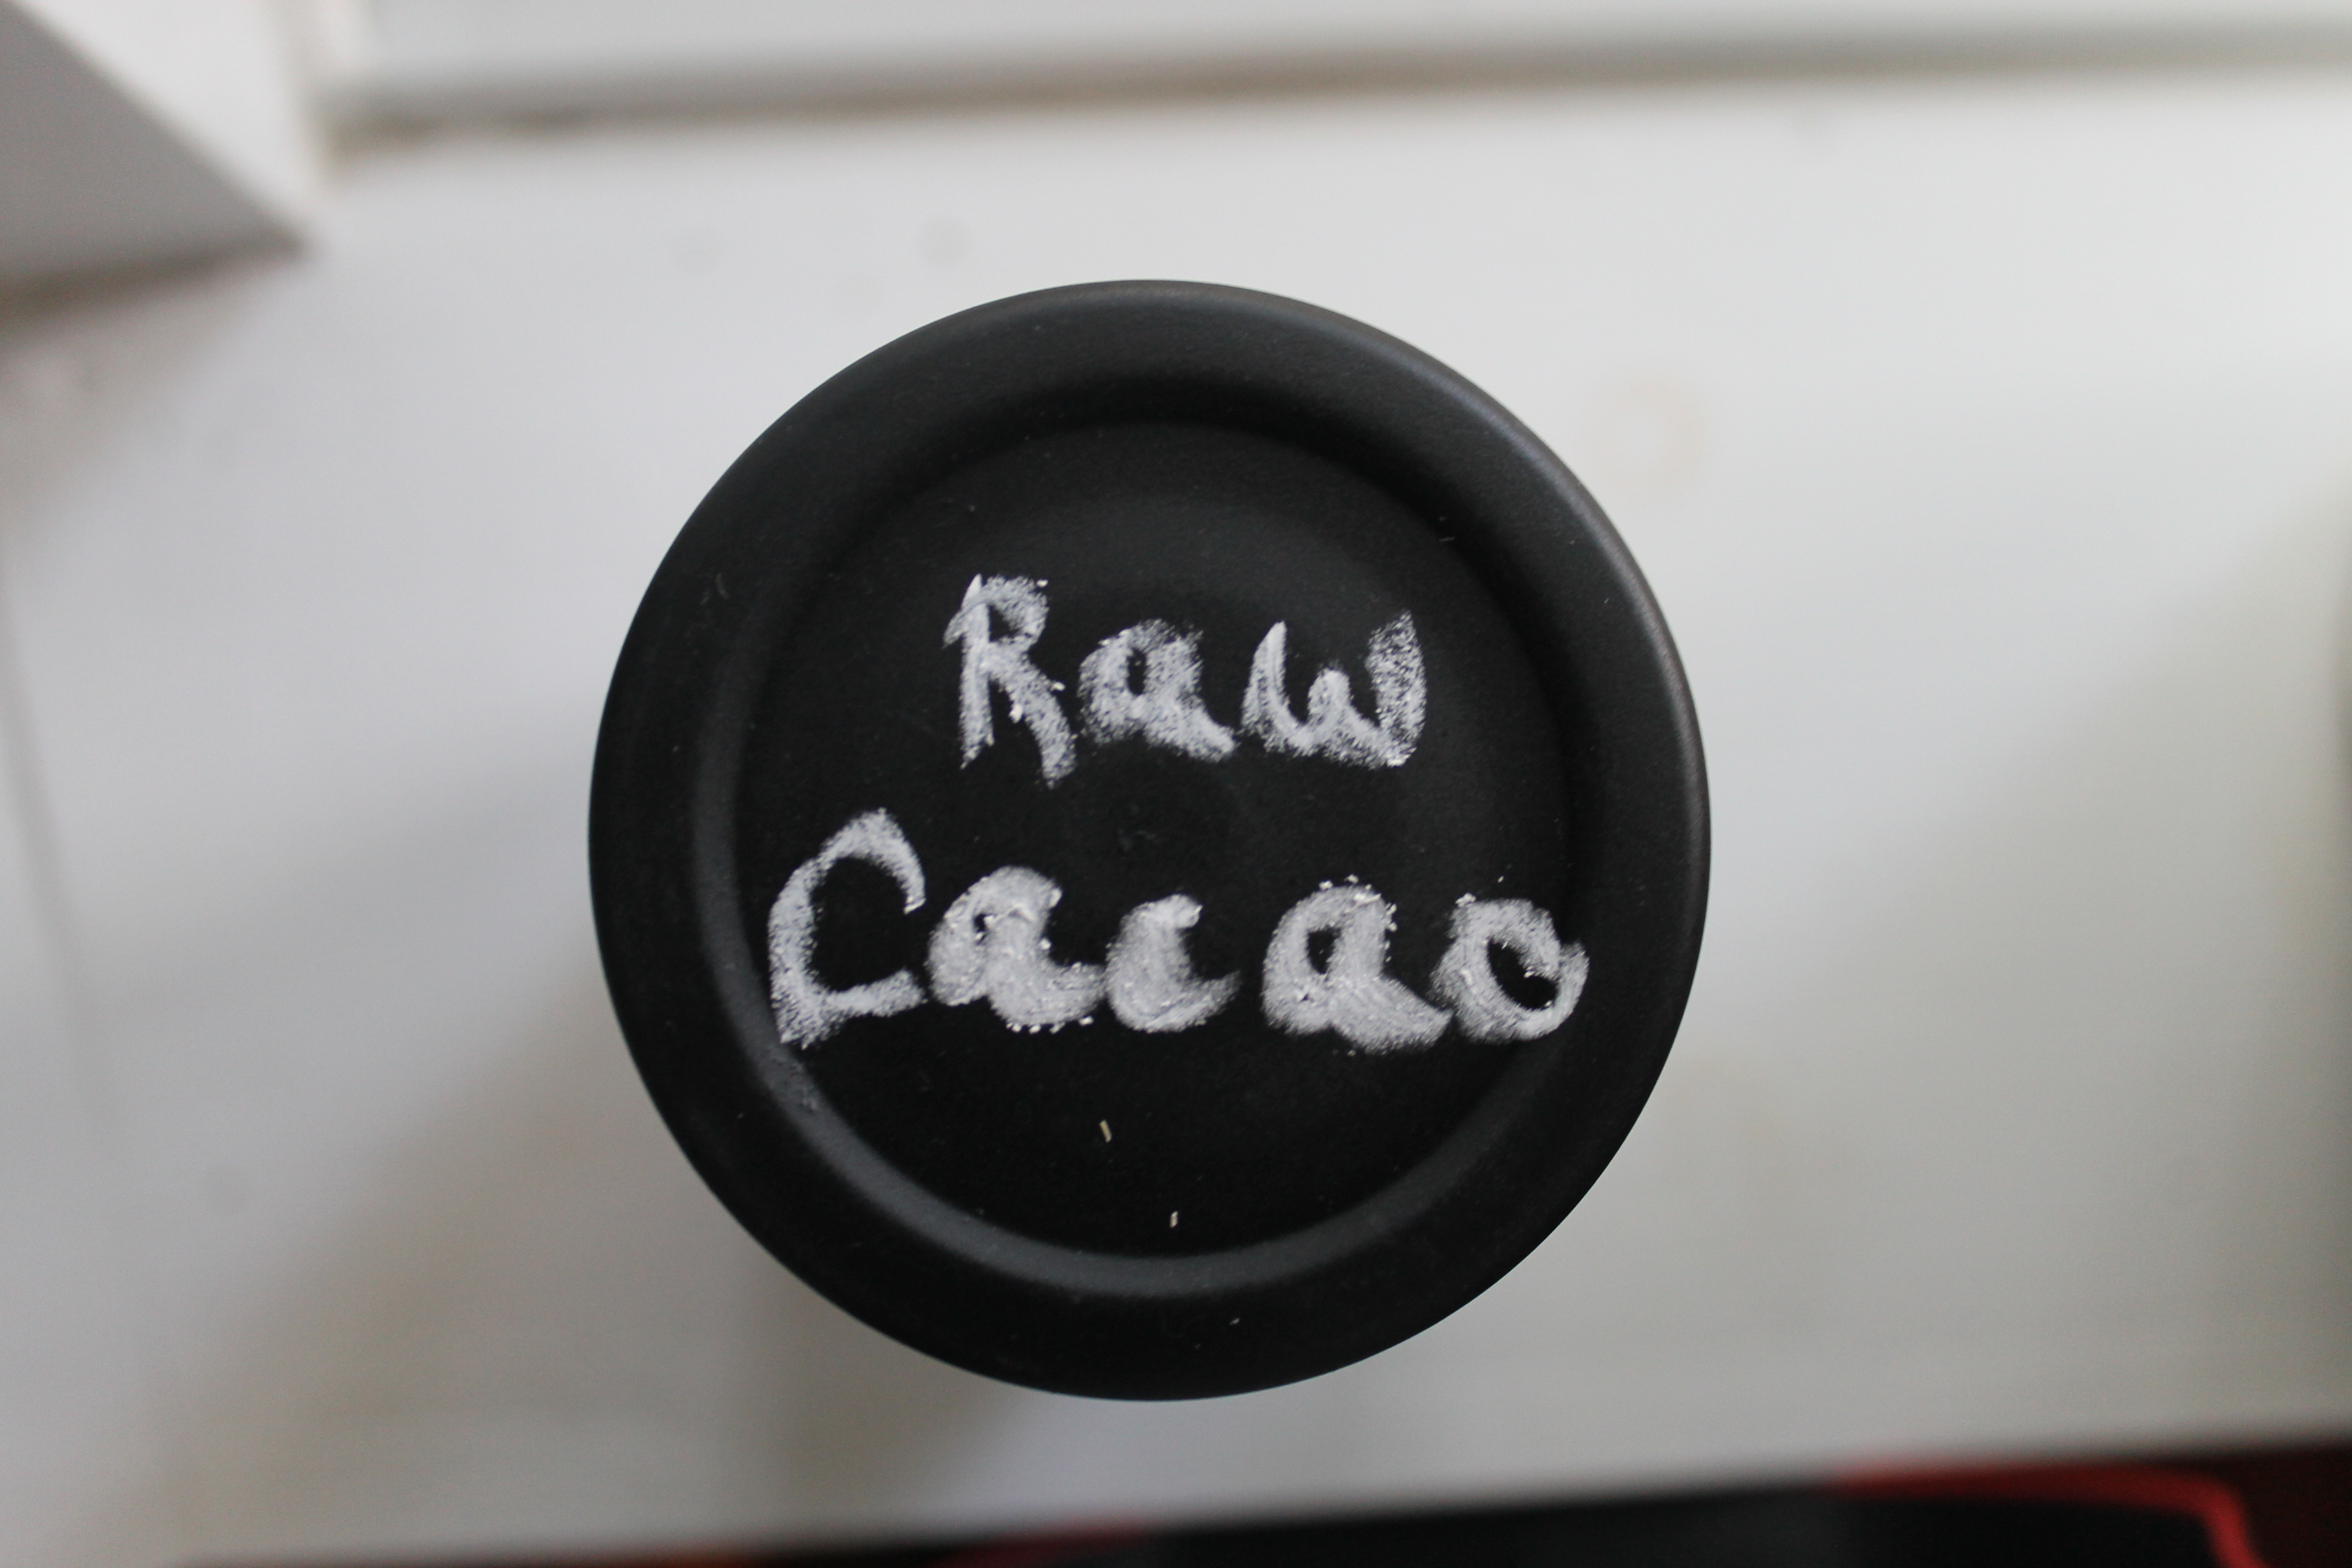
4. I got a great tip on how to save money on jars from the amazing organization specialist/interior decorator Ashley Shaanan. So many of us recycle tons of perfectly reusable jars from various items such as pickles, sauces, coconut oil etc… She suggested that I de-label all of the jars by soaking them in hot water overnight and then scrubbing the label off. To make the caps more beautiful and useful, she suggested spray paint chalk which will turn virtually any surface into a chalkboard. This makes labelling your jars a whole lot easier! I chose to label my jars with kraft tags and butchers twine (links below) but I still sprayed the caps of my old jars as a backup (plus they look a lot better!). Of course, you can still always buy beautiful Mason or Kilner jars which I love! (link below)
5. Now that everything is labeled it is time for you to cater your pantry to your individual or family needs. Storage baskets are a great way to not only save room, but they also make it super simple to find exactly what you’re looking for. I have baskets for all grain products such as rice, pasta quinoa etc… I also have one for all of my baking supplies such as flours, vanilla, sugar, baking powder etc.. As a home cook, I have built up quite the collection of spices and seasonings and it became impossible to find what I was looking for. By putting the various spices in a basket, I am able to sift through what I need. A great idea is to label the tops of the spices so you can pick out exactly what you are looking for without wasting time checking the labels. Other baskets can include packaged snacks, canned goods, sauces, oils+vinegars, and fresh produce such as garlic, onions, bananas etc.
6. Store the baskets and other ingredients based on what you and your family uses most. If you eat snacks, cereal, seeds, nuts, and spices everyday then make sure to put those items at eye level. Heavier items should remain on bottom shelves so that no one gets hurt in the process of taking them down!
Below you will find a list of my some of my favourite accessories for organizing my pantry. Check it out!
I hope these tips have inspired you to get the kitchen pantry you have been dreaming of! If you have any questions about your own pantry please feel free to contact me by commenting on this post or reaching me through my contact page.
xx-
Jen
These cereal truffles are so easy to make! Made with better for you ingredients, they make a perfect holiday treat…
These super easy almond oat squares are the perfect breakfast or snack solution for you and your baby. The base…
This soup is a new staple in our household. With the chicken, veggies, and noodles, it is a perfect warming…
As it is our first chanukah as a family of four, I really wanted to begin to create holiday traditions…
Ingredients • 1 tsp onion powder • 1 tsp garlic powder • 1 tsp Italian seasoning or dried oregano •…
Doing this post Q+A style based on all of your questions received on Instagram! Hoping this answers all of your…
View Comments
I absolutely love this!!!! Need to get on it
thank you!! its the best!!
Suddenly I have a deep urge to organize my pantry to not only look good but be functional! Thanks for the tips.
My pleasure! Share pictures!
Thank you for sharing these tips -- I've been looking for help on organising as I've switched to a gluten, dairy, sugar, soy, egg-free life and it's requiring me to do a LOT of cooking. And therefore be organised. On that front, can you recommend any ways to make cooking so much easier and more organised? I feel like I spend hours every day cooking and cleaning up and I need some advice on how to make this more manageable. Thanks very much!
Hey Rachel! One of the best ways to keep your cooking more organized is to take everything out before you start cooking so you are not running around all over your kitchen. You can even pre- measure all of your ingredients so when you follow a recipe all you really need to do is dump the ingredients into your bowl, pan etc... If you do this, then put away all of the ingredients you are no longer using before you get cooking. Then once you are exhausted from all that cooking, you will be relieved you don't have to clean! If I am making more than one meal at a time (like on a Sunday when I am prepping for the week) I make sure to do what takes the longest to cook first so I can get it in the oven right away. I also never make two dishes at the same time because my kitchen will be a disaster! Make one dish, then clean up right after so you have a clean work space for your next dish. Hope this helps! Good luck with your new diet!
These are great tips. I just did a kitchen overall, removing all plastic containers. It felt good to get everything organized. Mason jars were the best for my spices.
Agree!